FAQ
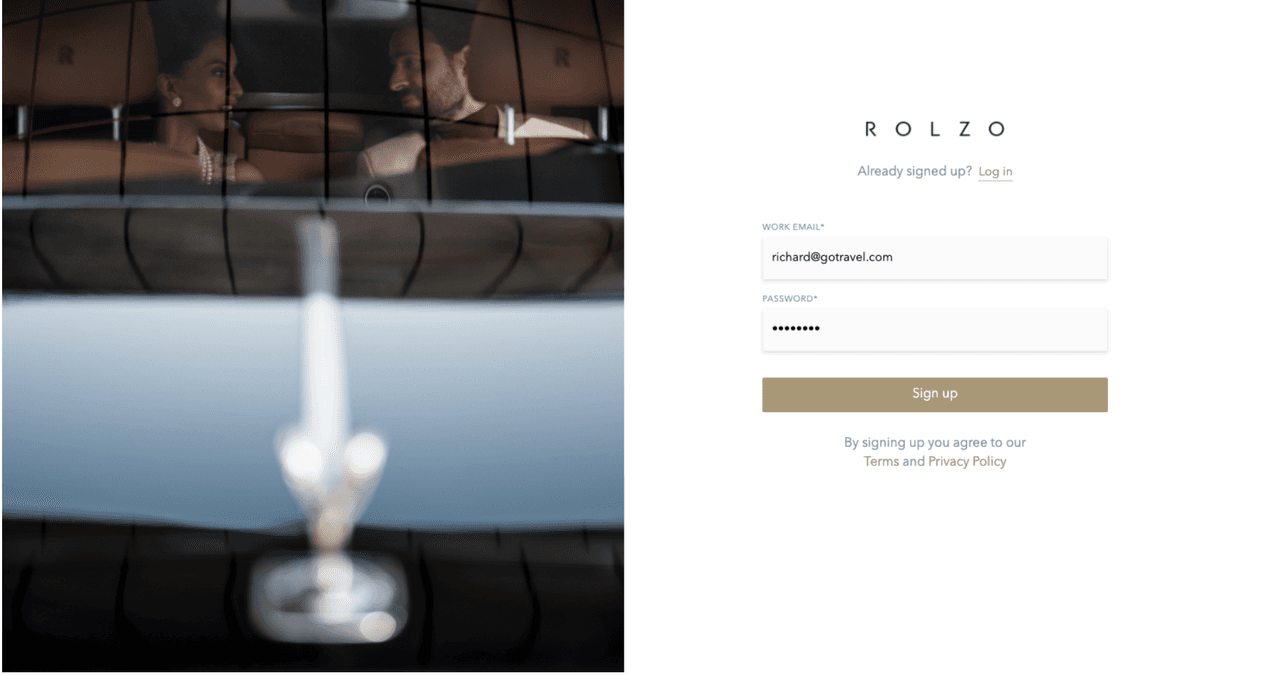
Sign Up
Go to business.rolzo.com, enter your email address and password and click Sign Up.
Enter your first name, last name and phone number. Enter your company name and location and click Sign up.

Log In
Go to business.rolzo.com and select Log In. Enter your email address and password and click Log In.
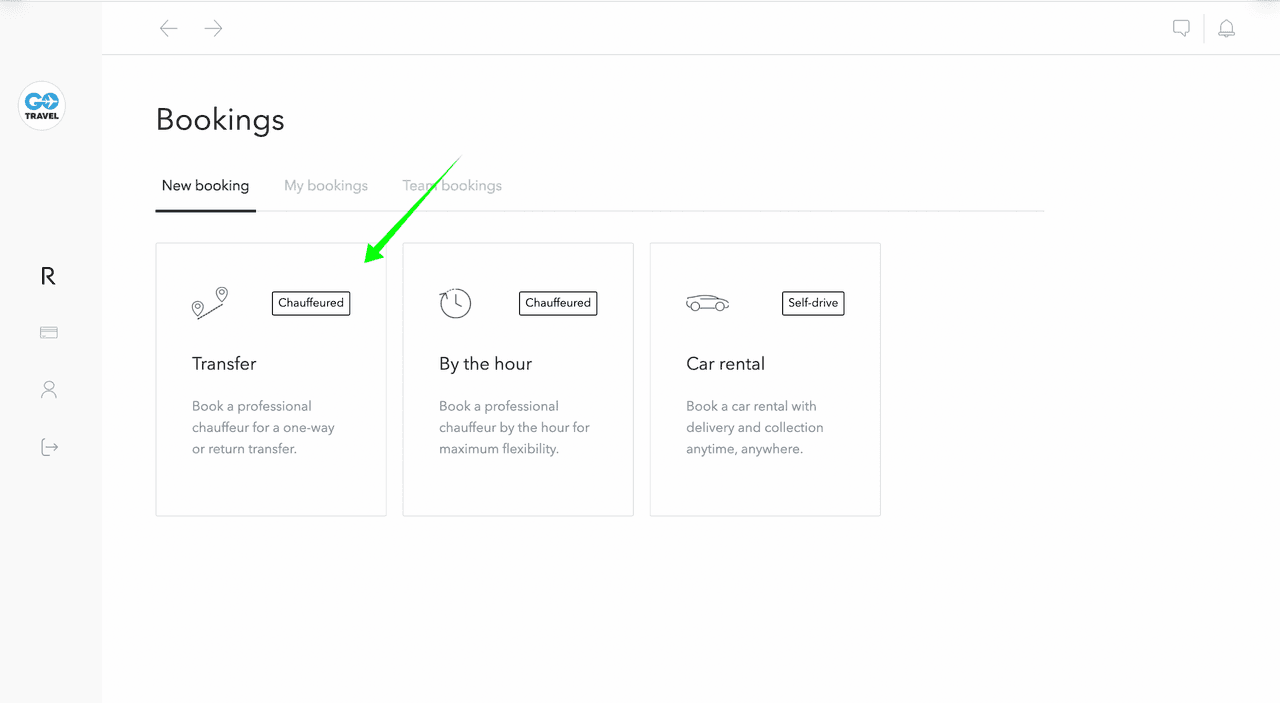
Bookings
Make a booking: Transfer
Select Bookings from the menu, then click Transfer.
Enter the pickup and dropoff addresses, the pickup date and time, then click Search.

Click Book to book your desired vehicle.

Enter the passenger information including title, full name, phone number, number of passenger(s), and number of luggage(s).

Enter the airport pick-up or drop-off information and any notes for the chauffeur in the special request(s) field e.g. child seat requirements. Once you have entered the information required, click Continue.

• Commercial flight: Enter the flight number for a commercial airport pickup or dropoff; Enter text for the pickup sign e.g. the passenger’s name or your company’s name.
• Private flight: Enter the tail number and handler/FBO for a private airport pickup or dropoff.
• Train number: Enter the train number for a train station pickup or dropoff.
Review your booking details in the booking summary.

Choose the payment method you wish to use for this booking and click Complete booking.

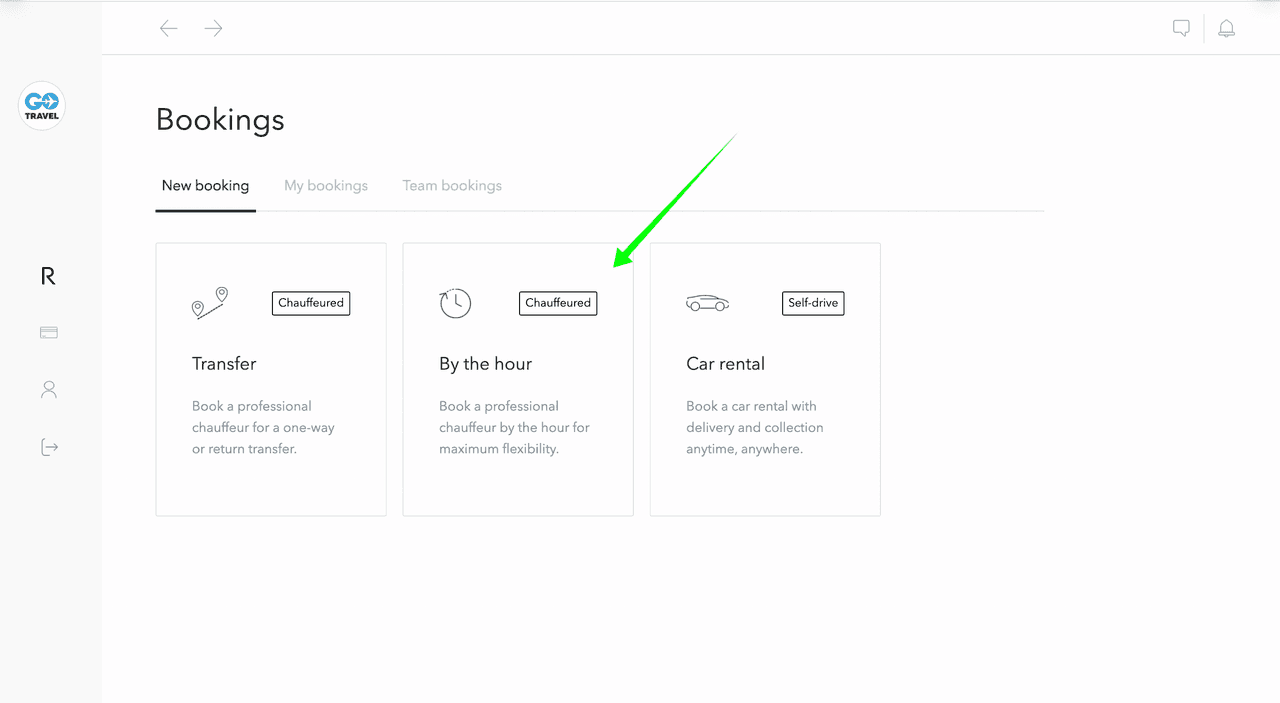
Make a booking: By The Hour
Select Bookings from the menu, then click By the hour.
Enter the pickup date and time, the pickup address, the duration of the booking, then click Search.

Click Select to book your desired vehicle.

Enter the passenger information including title, full name, phone number, number of passenger(s), and number of luggage(s).

Enter any notes for the chauffeur in the special request field e.g. child seat requirements or itinerary.

Review your booking details in the booking summary.

Choose the payment method you wish to use for this booking and click Complete booking.

Find your booking details
Select Bookings from the menu, click My Bookings and select the booking you wish to view.

Download a booking confirmation
Select Bookings from the menu, click My Bookings and select the booking you wish to download the booking confirmation for.
Download the booking confirmation from the Activity section.

Make changes to a booking
Select Bookings from the menu, click My Bookings and select the booking you wish to change.
Pick the field for which you want to edit details and click Save. You will receive an updated confirmation in the Activity.

Cancel a booking
Select Bookings from the menu, click My Bookings and select the booking you wish to cancel.
Click on the ...more icon to the right of the booking’s number, then click on Cancel booking.

View the chauffeur’s details
Select Bookings from the menu, click My Bookings and select the booking you wish to view the chauffeur’s details for.
View the chauffeur’s details in the Activity section.

Share a booking with team members
Select Bookings from the menu, click My Bookings and select the booking you wish to share.
Click on the Share button in booking activity.

This will open the booking sharing window. Within the share window, choose the team member you wish to share your booking with. Click on the Share button, this person will be notified that your booking has been shared with them by email and in-app notifications. This person will be able you to view, manage and receive updates about your booking.

Remove a team member from your booking
Select Bookings from the menu, click My Bookings and select the booking you wish to stop sharing.
Click on the Share button in the booking activity.

This will open the booking sharing window. Within the share window, you can see a list of team members who have access to your booking. If you need to remove a person, click on the X button to the right of the person's name. This person will no longer be able to view, manage nor receive updates about your booking.
Follow a booking
Select Bookings from the menu, click My Bookings and select the booking you wish to follow.

Click on the Follow button in the booking activity, this will enable you to view, manage and receive updates about this booking.

Unfollow a booking
Select Bookings from the menu, click My Bookings and select the booking you wish to unfollow.
Click on the Unfollow button in the booking activity. By unfollowing a booking, you will not be able to manage this booking nor will you receive any emails or notifications about this booking.

Notifications
ROLZO notifications keep you informed about things that need your attention. By default, here’s when you’ll receive notifications:
. Your booking is confirmed
. Your booking is starting in 24 hours
. Your chauffeur is assigned
. Your chauffeur has changed
. Your booking is modified
. Your booking is cancelled
. You have received a message from a ROLZO Specialist
. You have received a quote

Enter a Company Case ID (Optional)
Select Bookings from the menu, then choose a service type.

Enter the pickup and dropoff addresses, the pickup date and time, click Search, choose your preferred vehicle and click Book.

Enter the Company Case ID.

The Company Case ID will appear on the Booking summary, the booking confirmation and the associated invoice.


Payments
Change your preferred payment method
Select Payments from the menu, select the Payment method tab and select your preferred payment method.

Download an invoice
Select Payments from the menu, click the …more icon on the invoice you wish to download and click Download Invoice.

Choose your currency
Select Payments from the menu, go to Currency and select your preferred currency setting.
• Multi-currency pricing: This option allows you to get charged in three currencies based on where in the world the service takes place. Services in the United Kingdom are charged in GBP, services in Europe are charged in EUR, and services in any other destinations are charged in USD.

• Single currency pricing: This option allows you to select your preferred currency to view prices and pay for services in a single currency.

Account
Change your notification preferences
Select Account from the menu and click Notifications.

Enter your first name, last name, email address, and phone number in the fields and click Save.

Complete personal profile
Select Account from the menu and click Personal profile.

Enter your first name, last name, email address, and phone number in the fields and click Save.

Change password
Select Account from the menu and click Personal profile.

Click Change password.

Enter your current password and new password in the fields, and click Change password.

Complete company profile (Admin only)
Select Account from the menu and click Company profile.

Enter your company’s information in the fields and click Save.

. Logo: Your company logo will appear on all the booking confirmations.
. Address: Your company address will appear on all the invoices.
. Tax number: Your company tax number will appear on all the invoices.
Invite new members
Select Account from the menu, click the Team tab and click Invite new members.

Enter the invitee’s first name, email address, and role in the fields and click Send invitation.

Remove a member account (Admin only)
Select Account from the menu, click the Team tab and select the member’s account you wish to remove. Click on the …more icon, then click on Deactivate account.

Delete account
Select Account from the menu and click Personal profile.

Click Delete my account.

Support
Chat with a ROLZO Specialist
If you need help making a booking or have a question, chat with a ROLZO Specialist instantly. Our team is here to help.
Click on the Support icon and write a message. A ROLZO Specialist will reply back to you in minutes.

Make a booking from a Quote received in the Support Chat
Click on the Support icon and click on the quote to view the quote received.

Enter the passenger information including title, full name, phone number, number of passenger(s), and number of luggage(s).

Enter the airport pick-up or drop-off information and any notes for the chauffeur in the special request(s) field e.g. child seat requirements. Once you have entered the information required, click Continue.

Review your booking details in the booking summary.

Choose the payment method you wish to use for this booking and click Complete booking.
